
Your cart is currently empty!
October 23, 2025
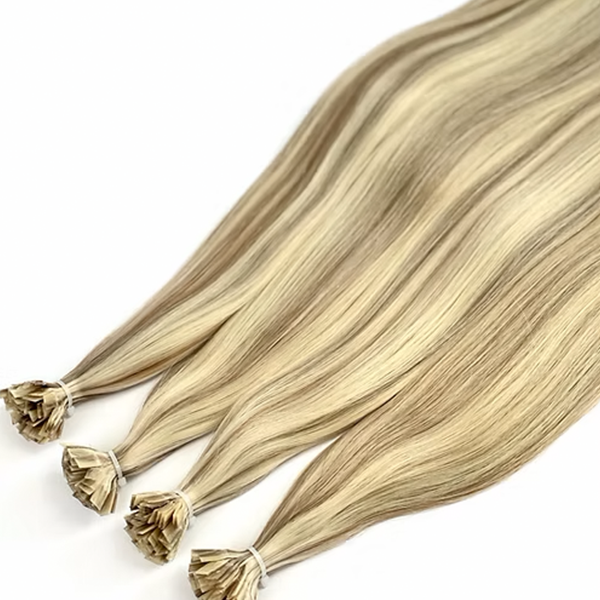
How To Apply Clip-In Hair Extensions: A Step-by-Step Guide
Clip-in hair extensions are one of the easiest and most convenient ways to add instant length, volume, and glam to your hair—without any commitment. Whether you’re getting ready for a special event or simply want fuller hair for everyday wear, clip-ins can transform your look in minutes.
Follow this simple step-by-step guide to apply your clip-in hair extensions like a pro.
What You Will Need
Clip-in hair extension set
Tail comb or sectioning brush
Hair clips
Mirror
Heat styling tools (optional)
Step 1: Prep Your Natural Hair
Start with clean, dry, and tangle-free hair.
If your hair is naturally very sleek or soft, gently backcomb (tease) the roots where the clip-ins will sit. This gives better grip and helps the clips stay secure all day.
Tip: Lightly curling your natural hair helps blend the extensions more seamlessly.
Step 2: Section Your Hair
Using your tail comb, create a horizontal section about two inches above the nape of your neck.
Clip the rest of your hair up and out of the way.
This bottom layer is where you will attach your first (usually the smallest) weft.
Step 3: Attach the First Weft
Take the smallest weft and open all the clips.
Starting from the center, clip the weft securely to your roots.
Then attach the clips on the left and right sides.
Make sure the clips snap closed and feel comfortable—not too tight.
Step 4: Repeat the Process With Higher Sections
Continue moving upward and creating horizontal sections, each about an inch above the previous one.
Attach the wider wefts in the middle and back of your head.
Then use the smaller side pieces on the left and right sides of your hairline for natural-looking volume.
Tip: Always leave enough hair on top to cover the last weft completely.
Step 5: Blend Your Hair
Once all the clip-ins are attached, release the top section of your hair and brush everything together gently.
For a flawless blend:
Curl your natural hair and extensions together
Or straighten everything into a sleek, cohesive style
Apply a lightweight serum to smooth flyaways
Step 6: Style as Desired
You can now style your hair however you like—waves, curls, ponytails, half-up styles, or voluminous blowouts.
Because clip-ins are temporary, you can change your look every day.
Step 7: Remove and Store Properly
At the end of the day, gently unclip each weft from bottom to top.
Avoid pulling or tugging.
Brush the extensions, let them fully air dry (if styled), and store them in a protective case or box to maintain their quality.
Clip-In Hair Extension Application Tips
Choose clip-ins that match your natural hair color for seamless blending
If you have thin hair, tease your roots to help the clips grip better
Avoid placing clip-ins too close to your hairline
Don’t wear clip-ins while sleeping or showering
Invest in 100% human hair for the most natural look and longest lifespan
Ready For Your Hair Transformation?
Clip-in hair extensions are the quickest way to get instant, confidence-boosting hair. With a little practice, you’ll be applying them flawlessly in just minutes.